Isaac Martin/Unsplash
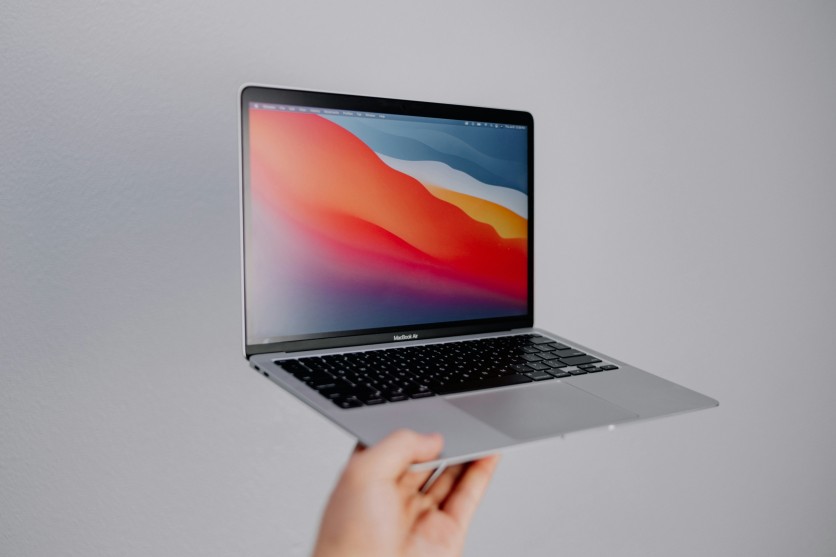
Screenshot Mac functionality on MacBook Air provides users with fast, versatile ways to capture their screen without relying on third-party apps. With built-in keyboard shortcuts MacBook Air owners can instantly capture the entire screen, specific windows, or selected areas, saving files directly to the desktop or copying them to the clipboard. These tools make it simple to document work, share media, or create tutorials with minimal effort.
Command+Shift+3 captures full screens, while Command+Shift+4 enables precise screen selection, and Command+Shift+5 launches the Screenshot app for additional features like timers, video recording, and Markup tools. Mastering these shortcuts allows both beginners and experienced users to streamline workflows, efficiently manage images, and maintain organized storage, all while taking full advantage of macOS's powerful screen capture capabilities.
Full-Screen, Window, and Advanced Screenshot Mac Tools
Screenshot Mac functionality on MacBook Air makes capturing content fast and versatile for any workflow. Whether taking full-screen grabs, selecting specific windows, or using advanced toolbar features, these keyboard shortcuts MacBook Air users rely on streamlined documentation. Mastering these tools ensures efficient image capture, editing, and sharing without third-party apps.
- Full-Screen Capture: Press Command+Shift+3 to capture the entire screen instantly; PNG files are saved to the desktop with timestamps for easy organization.
- Selected Area Capture: Press Command+Shift+4 to turn the cursor into a crosshair, then drag to select a precise screen area.
- Window Capture: After pressing Command+Shift+4, hit Spacebar to capture a specific window with clean drop shadows for professional-looking results.
- Clipboard Capture: Command+Control+Shift+3 copies the full screen directly to the clipboard for immediate pasting into emails or documents.
- Screenshot Toolbar: Command+Shift+5 opens the toolbar for video recording, 5- or 10-second timers, and floating thumbnails.
- Markup & Sharing: Drag the floating thumbnail into apps like Messages or Preview, or click it to access Markup tools for annotations, text, shapes, and cropping without extra software.
These combined shortcuts give users maximum flexibility for both personal and professional screen capture workflows on macOS.
Read more: How to Speed Up a Slow MacBook Air Without Upgrades: Proven Mac Performance Tips and Cache Clearing
Screen Capture macOS Customization
Screen capture macOS tools can be tailored to fit individual workflows, making it easier to capture, organize, and access screenshots efficiently. Older MacBook Pros with a Touch Bar can take screenshots using Command+Shift+6, providing direct access to Touch Bar content without additional steps.
Users can customize shortcuts in System Settings > Keyboard > Keyboard Shortcuts > Screenshots, allowing single-key captures, alternative key combinations, or even disabling certain default shortcuts to avoid conflicts with other apps. This flexibility helps streamline repetitive tasks and adapts the workflow to your habits.
Adjusting the default save location via the Screenshot toolbar > Options lets you store images on the Desktop, in Documents, Clipboard, or custom folders, keeping files organized and easy to locate. Additionally, you can set whether screenshots open as floating thumbnails for instant editing or save automatically, and control video recording settings like frame rate or audio capture. Personalizing these settings ensures screenshots are captured, stored, and edited exactly how you prefer, reducing extra steps and improving overall productivity for both casual users and professionals.
Step-by-Step Screenshot Tips
Mastering screenshots in Mac shortcuts ensures you capture exactly what you need quickly and efficiently. Whether for work, school, or personal projects, having a consistent workflow saves time and keeps your files organized. Following these step-by-step tips helps both beginners and experienced users streamline screen capture on macOS.
- Decide if you need a full screen, specific window, or a custom selection before capturing.
- Press the corresponding shortcut: Command+Shift+3, Command+Shift+4, or Command+Shift+5.
- Use Spacebar with Command+Shift+4 for precise window selection.
- Add Control to any shortcut to copy the screenshot directly to the clipboard instead of saving it to disk.
- Open the floating thumbnail to annotate, crop, or drag it into apps immediately.
- Change the default save location to maintain folder organization and easy access.
- Regularly update macOS to ensure all shortcuts work and new screenshot features remain available.
- Review your workflow periodically to optimize capture speed and accuracy.
Following these steps ensures consistent, organized screenshots every time, maximizing productivity and efficiency on your MacBook Air.
Conclusion
Mastering screenshot Mac tools and keyboard shortcuts MacBook Air users rely on ensures seamless screen capture workflows for both professional and personal tasks. From full-screen captures to selected windows and advanced editing through the Screenshot app, macOS provides a complete solution for managing screenshots efficiently. These built-in tools eliminate the need for external software, enabling immediate annotation, sharing, and organization without disrupting workflow.
Consistent use of these features supports productivity, whether for documentation, tutorials, or media capture, while customization options such as save locations, clipboard copying, and shortcut personalization enhance convenience. By leveraging the full range of screen capture macOS offers, users can maintain precise control over their digital content and streamline communication and creative projects on the MacBook Air.
Frequently Asked Question
1. What is the shortcut for full-screen screenshot on MacBook Air?
Press Command+Shift+3 to capture the entire screen and save it automatically.
2. How do I capture only a portion of my screen?
Use Command+Shift+4, then drag the crosshair to select the area you want. Press Spacebar for window selection.
3. Can I copy screenshots to clipboard instead of saving?
Yes, add Control to any shortcut, e.g., Command+Control+Shift+3, to copy to clipboard.
4. How do I edit screenshots immediately after taking them?
Click the floating thumbnail that appears with Command+Shift+5 captures to access Markup tools for cropping, annotating, and sharing.
Read more: Boost Your MacBook Air Battery Life with Proven Power Management macOS and Battery Health Mac Strategies
-
 C114 Communication Network
 -
 Communication Home